How To Sew A Throw Pillow Cover In 10 Easy Steps
I admit, I tend to change my mind frequently. My husband would call it fickle. I just call it “ever evolving design tastes.” Whatever you call it, it means that I really love decor that has built in flexibility such as pillow covers that can be removed, washed, or changed. The best thing about pillow covers is that they are so easy to make. Here’s how I make a cottage-style throw pillow cover in 10 easy steps.
Supplies
You will need:
-
A yard and a quarter (1 1/4) of 45″ fabric, or a yard (1) of 55″ fabric
-
Two and a half (2 1/2) yards of trim
-
A drinking glass and pencil
-
A sewing machine, iron, ironing surface, pins, scissors and thread
-
Optionally, you may want a rotary cutter and mat for cutting your fabric.

Step 1: Pillow Cover
Step 1
Cut your fabric into three pieces. For the front of the pillow, you will need one square 21″ x 21″. For the back, you will need two rectangles, 13″ x 21″ each.
Note: Measurements given are for a 20″ square pillow. The formula for other sizes is at the end of the article.

Step 2: Pillow Cover
Step 2
To ease sewing and turning, we will round the corners of our pillow cover slightly. Trace a glass with a pencil on the wrong side of your fabric. Mark all four corners of the square piece of fabric and two corners on one long edge for each rectangle (see the picture at Step 4).

Step 3: Pillow Cover
Step 3
Cut along the pencil lines. To save time, I often double-up corners and cut two at once.

Step 4: Pillow Cover
Step 4
To prevent fraying but also avoid bulk at the seams, we will finish our raw edges using a zig-zag stitch or an overlong stitch if you have one. Finish all edges except the straight edge on each rectangle.

Step 5: Pillow Cover
Step 5
Since the straight edges of the rectangles will be exposed, we’ll use a more polished hem. Fold about 1/4″ – 3/8″ of the edge over twice to completely encase the raw edge and stitch it down with a straight stitch.

Step 6: Pillow Cover
Step 6
Next we will pin in our trim. On the right side of the square piece of fabric, start at the bottom of the pillow and carefully pin your trim, making sure the sewing band is to the outside and the trim to show is toward the inside of the square. Pin frequently, making sure not to stretch the trim. It should not have any tightness to it, or the pillow will pucker on the edges. Butt the ends together so the trim appears continuous, adjusting the length as necessary.
Step 7: Pillow Cover
Step 7
Next, we’ll pin the entire pillow cover together in preparation for sewing. Place one of the rectangular pieces face down, rounded corners to the outside as shown. Line the corners up and pin carefully, again, making sure not to stretch the fabric or trim.

Step 8: Pillow Cover
Step 8
When the first rectangle is completely pinned, place the second rectangle, face down, on the other half of the project. The hemmed straight edges will overlap. Again, beginning with the corners, pin the rectangle down carefully, making sure to remove any pins that might hide under the overlapping fabric and cause problems when sewing.

Step 9: Pillow Cover
Step 9
Sew all around the pillow, using a seam allowance that matches the sewing band on the trim. For example, the sewing strip on my pom-pom trim was 5/8″ wide, so I used a 5/8″ seam allowance.
For very bulky trims or piping that are close to the seam, you may need to use a zipper foot, but for flat trims such as fringe, or trims that hang away from the edge, your regular presser foot might work fine. If in doubt, sew a test using scraps of trim and fabric until you are comfortable with how the material will run through your machine.
Finally, make sure to remove pins before you sew any given section of fabric! Sewing over pins can break your needle or even damage your machine. I usually pull the pins out of the 1″-2″ right before the presser foot and sew in small sections.

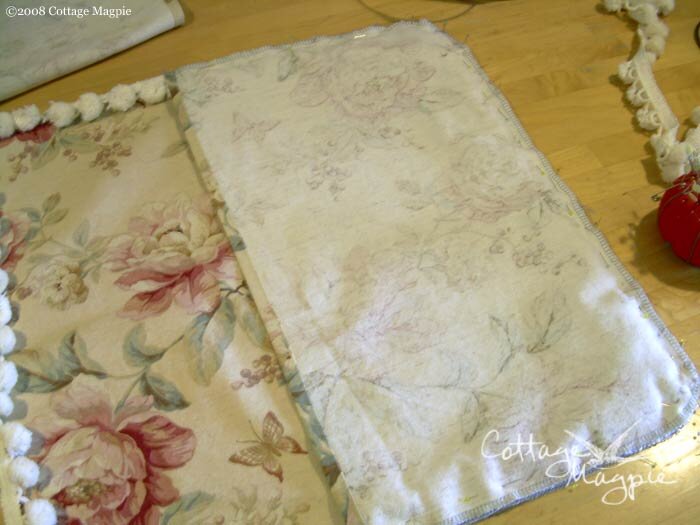
Step 10: Pillow Cover
Step 10
You’re almost done! Your project should now look like this. Next, turn the project inside out and press. Then, all you have to do is stuff the new cover with your pillow form.

Insert Pillow Form
Stuffing the pillow form into the cover is easy, just like you would put a pillow sham on a bed pillow. Smoosh it around and shake the corners until it looks right, and then, you’re done!

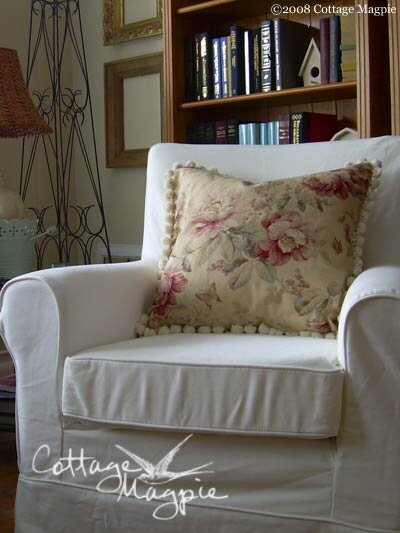
Finished Pillow Cover
Voila! One cute cottage style pillow cover. Now that you know this simple trick, you can change all the pillows in your house whenever the mood strikes. If you’re like me, that will be often!
My very best,

P.S. If you want to make a pillow cover for a pillow form other than the 20″ pillow I made here, you can figure your fabric sizes as follows:
-
Your square piece is the size of the pillow form plus 1″ square. So if your pillow form is 14″, your square piece of fabric should be 15″ square.
-
Your rectangle pieces are the same length as your square piece on the long edge. For the short edge, they are half your square piece plus 2.5″. So, if your square piece is 15″ square, half of that is 7.5″ and plus 2.5″ is 10″, so your rectangles should be 10″ x 15″ each.
Leave a Reply