
Despite our best of intentions, all of us have had to undo a seam at one time or another. Some people call it “unsewing” and some people call it “ripping out” — it doesn’t matter what you call it, it isn’t fun and it isn’t pretty, but everyone has to do it sometimes. Here’s the proper way to rip out a seam so that you have minimal pulling and stretching on your fabric edge.
Step 1
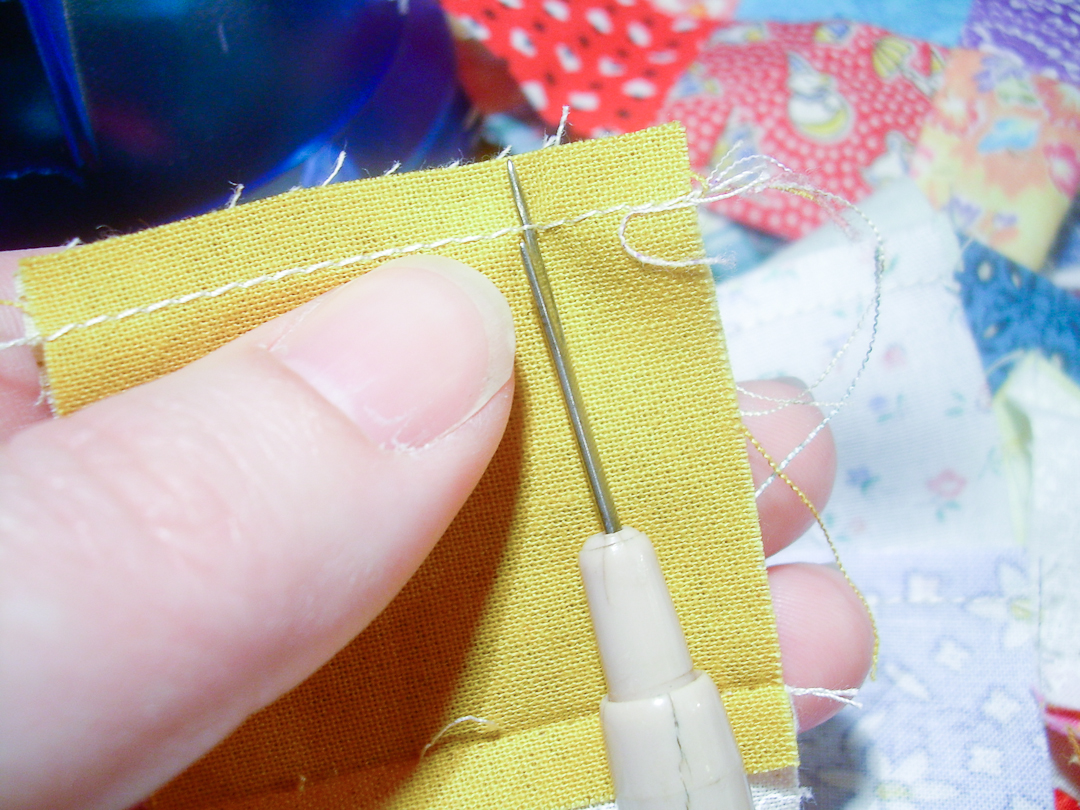
Insert the pointy end of a seam ripper through one of the stitches of the seam, about 3 or 4 stitches from the end.
Step 2
Push the seam ripper upward until the blade (that sharp inner curve) cuts the thread. Then do the same for a stitch 3-4 stitches over from the first.

Step 3
Continue working your way along the seam, cutting every 3rd or 4th stitch.
Step 4
Once you’ve sliced through every few stitches, the seam will come apart easily without any pulling that might stretch your fabric.

That’s it! Now you can re-sew your seam correctly. I usually also pick the little threads out to clean it up. Some people use an eraser or other tool, but I just pick or rub them out by hand. Either way, you now have a clean, un-stretched edge that can be re-sewn.
I hope that helps!!
Much love,

Leave a Reply